How to use Mockups
Here you will find a short description how to use our products and their applications.
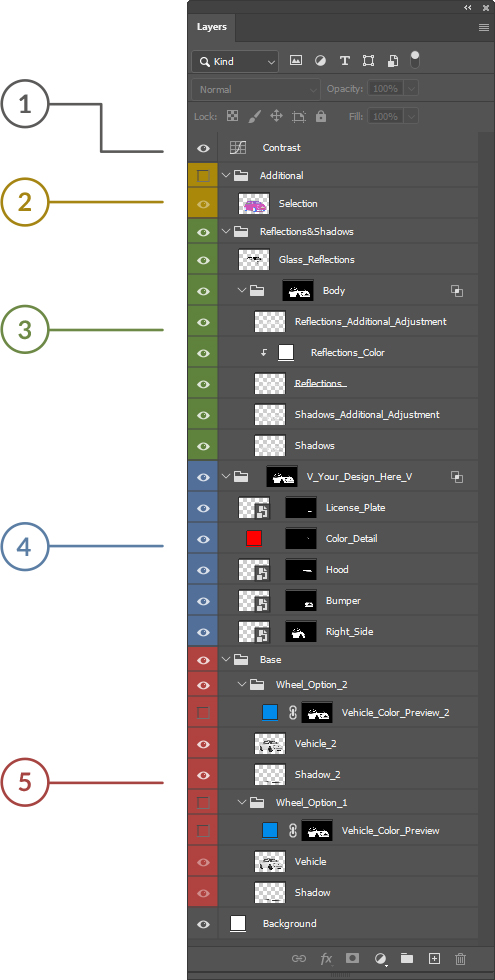
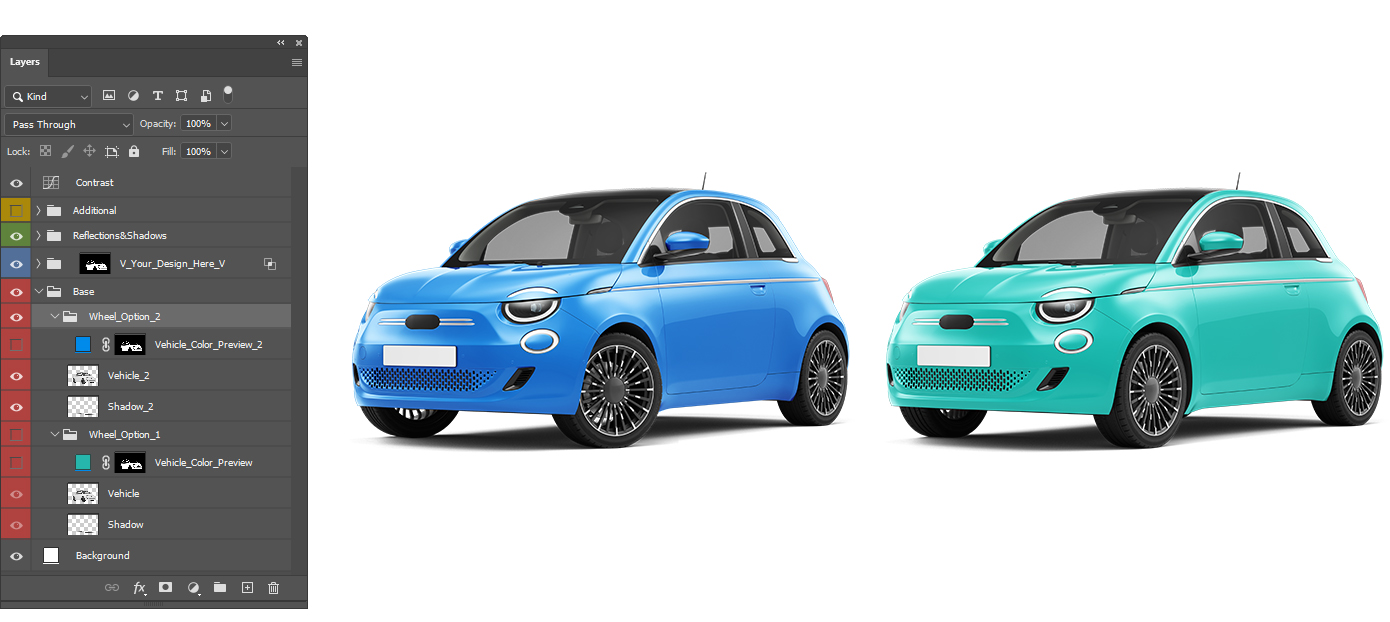
When you open the PSD file with our mockup, you’ll see that all the groups and layers are organized and assigned the appropriate colors.

1. Contrast
2. Additional group
3. Reflections & Shadows group
4. V_Your_Design_Here_V group
5. Base
Shadows under the vehicle.
1. Contrast
By dragging the contrast curve our image will change as in the example.
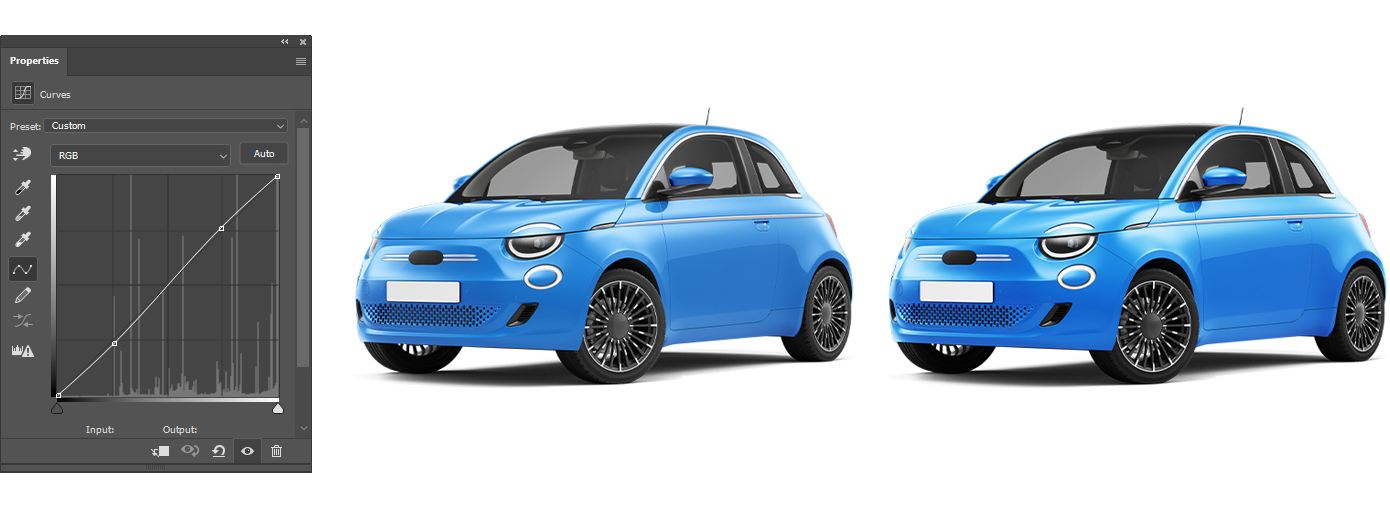
1. Contrast
2. Additional group
3. Reflections & Shadows group
4. V_Your_Design_Here_V group
5. Base
Shadows under the vehicle.

By dragging the contrast curve our image will change as in the example.

2. Additional group
With this layer, you can select any elements that you additionally want to edit.

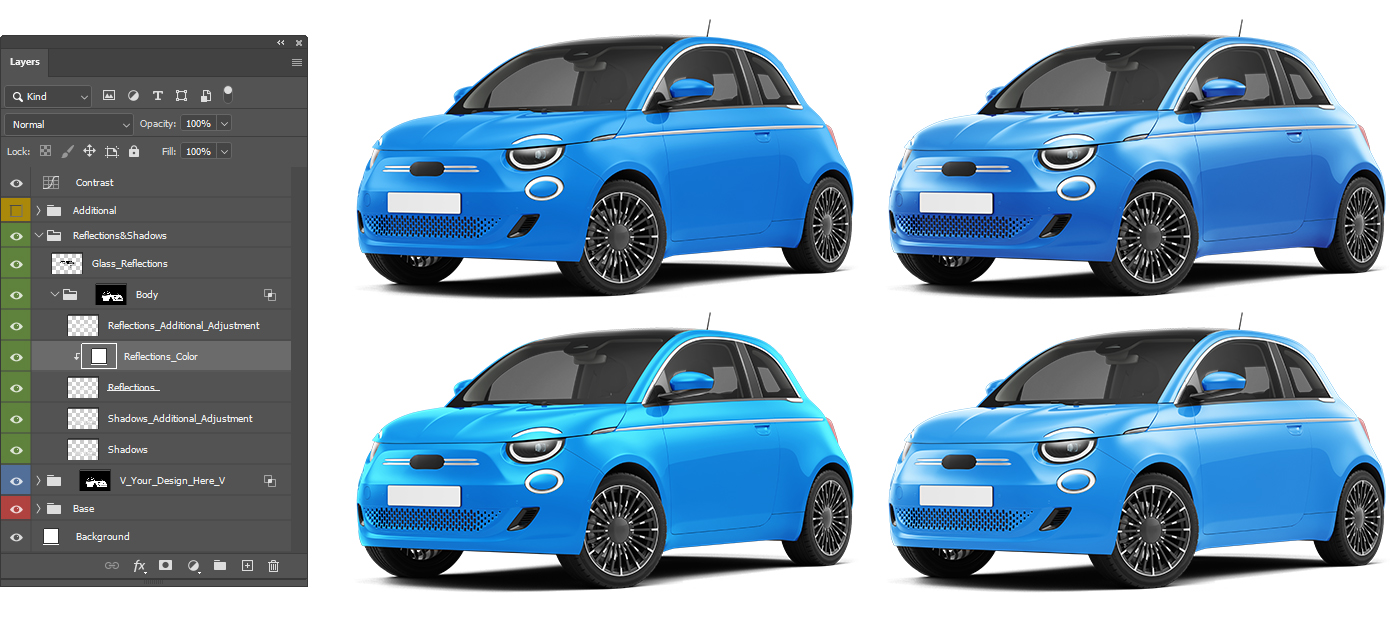
3. Reflections & Shadows group
Change Layer’s Blending Modes and/or Layer Opacity values until you got your desired look. You can also change the color of the reflections so that you get more depth in the color of the vehicle’s paint.
4. V_Your_Design_Here_V group
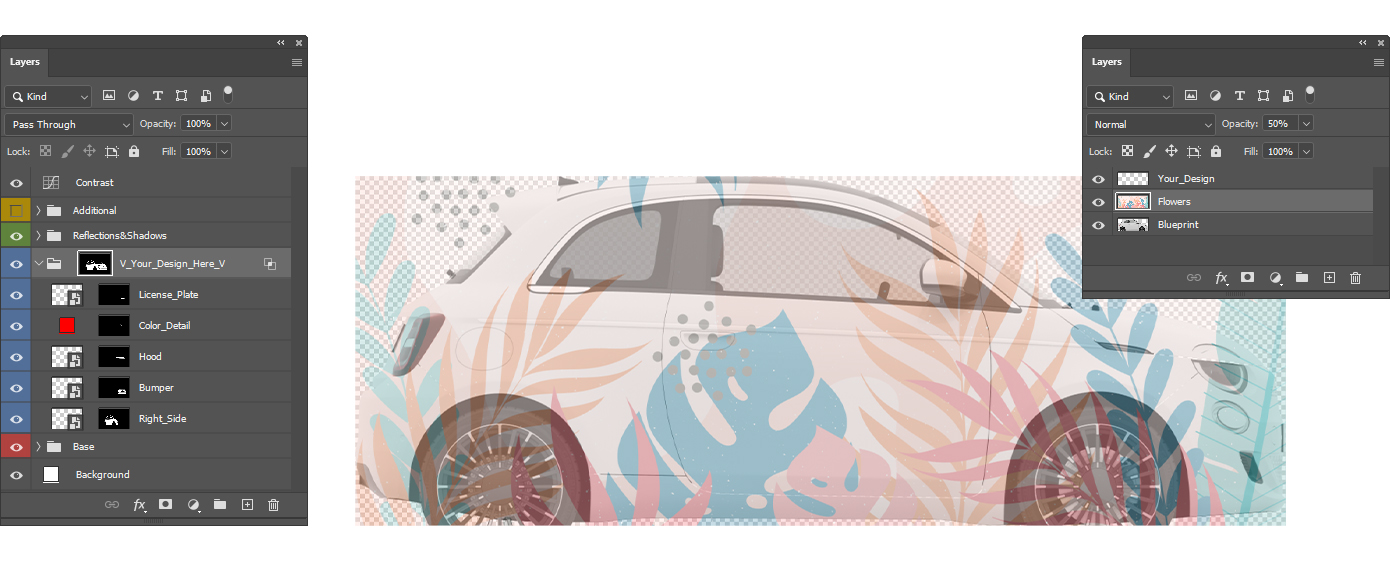
Every vehicle is divided into several Smart Object layers.
Your artwork goes into corresponding layers e.g. >Right_Side.
1 Double-click a smart object to open it.
2. Insert your design here (graphics/typography/ pattern, etc.).
Here you’ll find a layer called blueprint, which helps you align and adjust your design.
When you’re done, choose File > Save.
3. These changes will be reflected when you return to the main psd file.
4. Close the Smart-Object.
5. Play around with layer blend modes and/or layer opacity values until you get the look you want.
Tip: To get a better result, try not to use 100% saturated colors because in reality there is no 100% pure black color.
5. Base
This folder contains:
- Base renderings of the vehicle with two wheel alignments in separate groups.
- Shadows under the vehicle.
- Vehicle color preview layers – You can easily change all elements of the vehicle’s body by double-clicking the icon.
Example
This is how the final result may look like.
